Last night I provided you a Noel Wall Design Tutorial in which I used a wreath for the “O”.
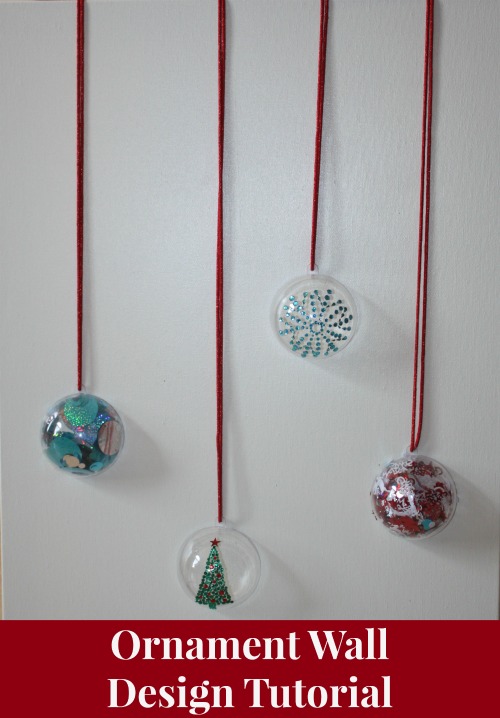
The previous night I posted an Ornament Wall Design Tutorial.
Both were easy projects and didn’t take long to create.
Today I have another easy one…a Christmas Tree Wall Design Tutorial that you can add to your collection.
Ok…so maybe you aren’t creating a collection. Maybe, of the four that I am providing you, you only want one of them on your wall. Just humor me. 🙂 Regardless…hope you enjoy!
Remember…you don’t have to replicate these exactly. The idea is that I am inspiring you to be creative yourself.
However, if you are stuck and can’t get those juices to flow…you then have these tutorials to guide you.
Items that you need for this project are:
- Canvas – white or painted
- Scrapbook paper – you will need several different designs
- Pen or Pencil
- Ruler
- Scissors
- Mod Podge
- Ribbon or anything you can use as a trunk for the tree
- Tree Topper – I provide you 2 different options below but as always, these are only 2
First choose your Scrapbook paper to use. You want to alternate them and have some variety.
You will be cutting them into strips, as shown below, so you can get 3 or 4 strips.
You will want to do this because if you do not, and you just lay each full sheet of paper over the other, the paper gets too thick to cut through. So strips!
After you have enough of them, start gluing 0ne on top of the other.
Let dry and then flip over to draw your tree.
If an artist and/or have time, you can do more than just draw a straight line.
You are now ready to cut!!
Layer Mod Podge on the back of the tree and then position on the canvas.
Put glue on your trunk and position as well.
Choose your tree topper and glue.
And there you have it…A Christmas Tree Wall Design.
Hope I have inspired you! Have fun and send me pictures of your designs.
Tomorrow will be yet another and the last in this series. But I still have more Wall Designs to come next week!
Don’t forget to comment and tell me what you think!


