Wall Designs…my passion.
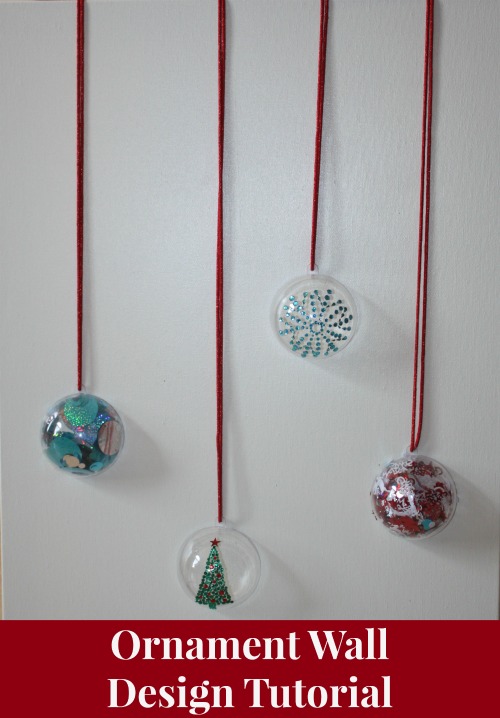
Yesterday I showed you how to make an Ornament Wall Design.
Today is the Noel Wall Design Tutorial.
Like the Ornament Design, there are so many variations for this design. I am actually going to show you two of them, the one I created last year and then the one for this Tutorial.
But lets start off with what you will need to do this project:
- Canvas – you can leave it white or paint – be sure to choose a size that fits within the wall measurements
- N, E and L Letters – they can be of any material and size
- Wire and Wire Cutter
- Foam Wreath Form
- Paint and Brush/Sponge or Scrapbook Paper
- Mod Podge
- Staple Gun
- Ribbon
- Branches from Christmas/Pine Tree
- Berries – or any embellishments
I started off by painting the letters as they need time to dry. You only really need to paint the front and sides.
You could use scrapbook paper, instead of painting. Below, in the second project, I explain how I covered with the scrapbook paper. In the meantime, the letters were left to dry.
Then I moved onto the Live Wreath.
I did attempt to use the Foam Wreath Form, but I realized that the form was so thick that it was going to look a little odd.
So I chose to only use the foam as a means to help me form the wire into a ring.
Once I created the wire ring, I cut several pieces of wire.
I started cutting away from the pine branches and attaching them (with the wire I cut above) to the wire ring.
You will just have to decide how thick you want which will determine the number of layers that you will need. Once done, I added some berries.
Final step was to add the ribbon so that I could make it seem as though it was hanging.
Once the letters were dry, I placed them on the canvas, along with the wreath to determine placement.
I then started gluing the letters using the mod podge. You will need to let them dry before you secure the wreath.
When they were secure, I held the ribbon and wreath in place, flipped over the canvas and stapled the ribbon to the canvas. And there you have it!
Finished product.
For the one I did last year, I used:
- Canvas that I painted an ivory color
- N, E and L Painted Letters
- Scrapbook Paper
- Scrapbook Scissors with special edge cuts
- A pre-made berry wreath – is actually a candle ring
Before I painted the letters, I did trace the letters on the scrapbook paper.
I cut the letters with the special edge scrapbook scissors to give them an older, vintage look. I then glued the paper to the letters.
As in the above project, I had to determine placement. Once I did, I glued the letters and the ring to the canvas.
And again…
Finished project!
Remember..there are so many variations. You can use glitter, other types of wreath options and so much more.
Hope you were inspired. Tomorrow I will post a Christmas Tree Wall Design Tutorial so stay tuned!
Don’t forget to link up at Share it Sunday or peruse the links for Inspiration.
And if you have not yet Entered for your chance to win either Disney Tickets or Gift Certificates, valued at $600, do so now. Ends on December 5th.


